
Are you interested in learning MIG welding, or improving your existing skills? MIG welding is a widely used welding method that can handle various metals and thicknesses. In this article, you will learn the basics of MIG welding, the common problems you may encounter, and some advanced tips and tricks to make your welds more precise, beautiful and durable.
What is MIG Welding?
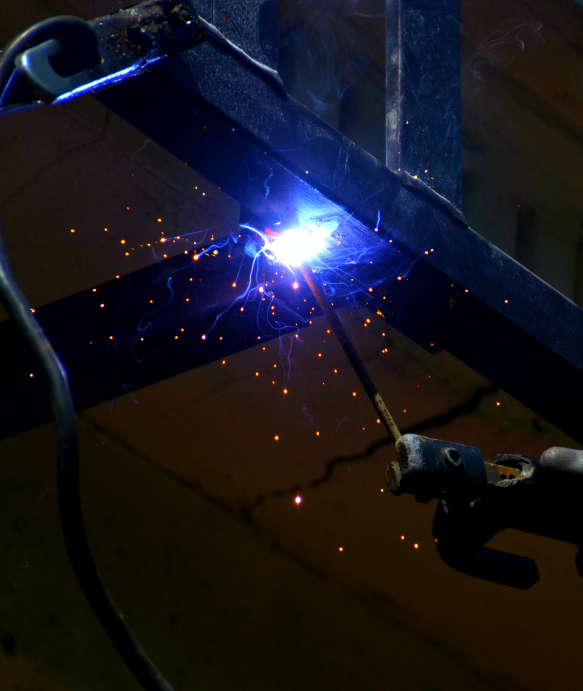
MIG welding, or metal inert gas welding, is a type of arc welding that uses a continuous wire feed as an electrode and an inert gas as a shielding gas. The wire melts and forms a weld pool that joins the two base metals together. The gas protects the weld pool from the air and prevents oxidation and contamination.
MIG welding has many advantages over other welding methods, such as:
- Efficiency: MIG welding offers a continuous wire feed, resulting in faster, more productive welding sessions.
- Versatility: Capable of welding a wide range of metals and alloys, MIG is suitable for both thin sheets and thick plates.
- User-Friendly: Easier to master with less manual dexterity required compared to stick or TIG welding.
- Clean Results: Yields welds with minimal spatter and almost no slag.
Disadvantages:
- Cost and Complexity: Requires a more extensive setup including a power source, gas, wire, and welding gun, which can be costlier.
- Portability Constraints: Tied to power and gas supply, which reduces its mobility and can be inconvenient for remote jobs.
- Outdoor Challenges: Gas shielding is susceptible to being disrupted by wind, potentially degrading weld quality.
- Heat and Distortion: Generates significant heat, posing a risk of distortion, particularly on thinner materials or extensive welds.

How to Set Up the MIG Welder?
Before you start MIG welding, you need to set up the MIG welder properly, according to the type, thickness and diameter of the material you are going to weld. Here are the main components of the MIG welder and how to adjust them:
- Power Source: The heart of the welding process, providing electric current. Select the right voltage and polarity based on your material - higher voltage and positive polarity (DC+) for steel and stainless steel, and lower voltage with negative polarity (DC-) for aluminum.
- Gas: This inert gas shields the weld pool from air contamination. Choose the right type and flow rate: steel and stainless steel generally need an argon and CO2 mix, while aluminum prefers pure argon. Typical flow rates range from 15 to 25 CFH, varying with wire diameter, welding speed, and environment.
- Wire: As the filler metal, it's crucial to match wire type and diameter with your material and its thickness. Steel and stainless steel often use solid wire, whereas aluminum is best welded with flux-cored wire. Wire diameters usually range from 0.023 to 0.045 inches, depending on material thickness.
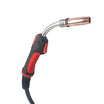
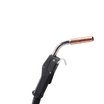
- Gun: This tool holds and feeds the wire and gas. Choose according to the wire and gas type - standard guns for steel and stainless steel, spool guns for aluminum. Gun size should align with wire diameter and amperage, typically between 150 and 400 amps.
- Fixtures: Essential for holding and positioning the material. Select fixtures like clamps, magnets, and jigs based on the material and its shape to ensure stability and prevent warping during welding.
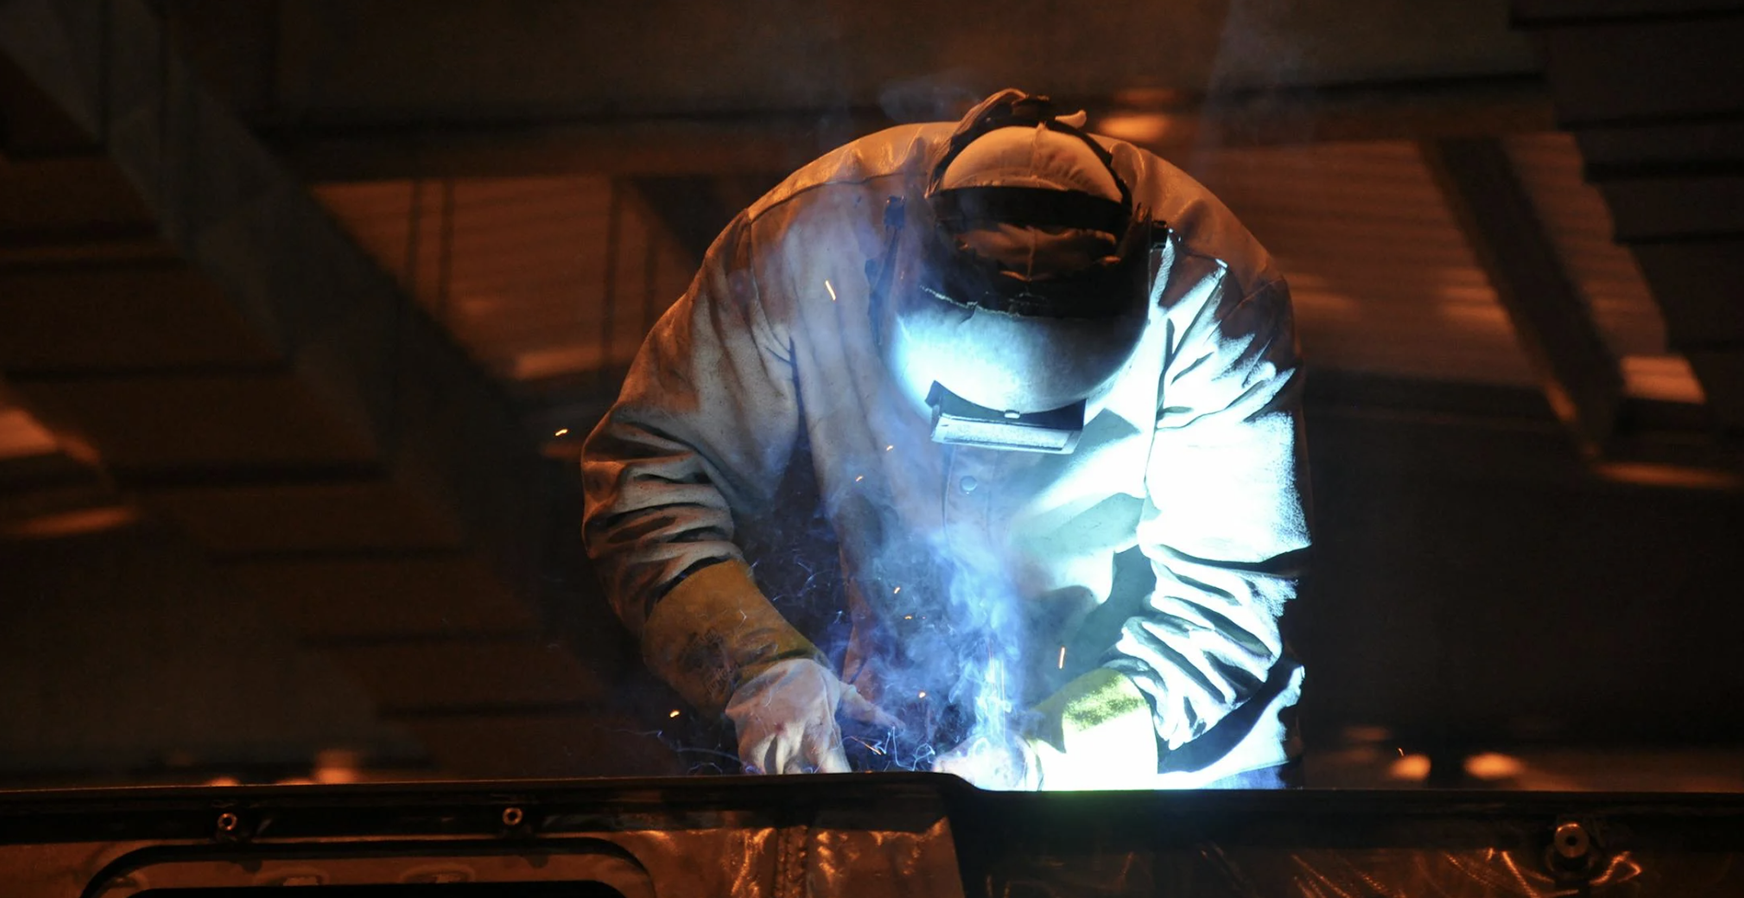
How to MIG Weld Safely?
MIG welding can be dangerous if you don't follow some safety precautions. Here are some tips to protect yourself and others from the hazards of MIG welding, such as electric shock, fire, burns, eye injuries, etc.:
- Wear proper protective clothing, such as gloves, boots, jacket, helmet, etc., to cover your skin and eyes from the heat, sparks, spatter and radiation.
- Work in a well-ventilated area, or use an exhaust system, to avoid inhaling the fumes and gases that may be harmful to your health.
- Keep flammable materials, such as paper, cloth, oil, etc., away from the welding area, to prevent fire and explosion.
- Check the cables, hoses, connections, etc., for any damage or leakage, and repair or replace them if necessary, to prevent electric shock and gas leakage.
- Turn off the power source and gas supply when you are not welding, and disconnect the gun from the wire, to avoid accidental activation and waste of energy and gas.
- Have a fire extinguisher, first aid kit and emergency phone nearby, in case of any accident or injury.
What are the Common Problems of MIG Welding and How to Solve Them?
MIG welding can be easy and fun, but it can also be frustrating and disappointing, if you encounter some problems that affect the quality and appearance of your welds. Here are some common problems of MIG welding and how to solve them:
- Spatter: Small droplets of metal that scatter around the weld. Causes include improper voltage, wire speed, gas flow, gun angle, or material cleanliness. Reduce it by optimizing voltage, wire speed, and gas flow, maintaining a gun angle of 10-15 degrees, cleaning the material, and applying anti-spatter products.
- Burn-through: A hole in the material caused by excessive heat. Avoid it by reducing voltage and wire speed, increasing welding speed, using thinner wire, or placing a backing plate or filler behind the workpiece.
- Lack of Fusion: Weak bonding between weld and base metals due to insufficient heat or speed. Improve it by increasing voltage and wire speed, slowing down the welding pace, using thicker wire, preheating the material, and ensuring cleanliness and correct gun angle.
- Distortion: Changes in material shape or size from welding heat. Minimize it by lowering heat input through reduced voltage and wire speed, using thinner wire, shortening weld lengths, employing staggered or intermittent welding patterns, correctly clamping and positioning, and gradual cooling.
What are the Advanced Tips and Tricks for MIG Welding?
MIG welding can be improved and refined by applying some advanced tips and tricks that can enhance your skills and results. Here are some of them:
- Welding Patterns: Choose from various patterns like straight-line, circular, zigzag, oscillation, figure 8, and J patterns to suit the material type, thickness, and desired weld appearance and strength. These patterns help control weld width, penetration, reinforcement, appearance, and distortion. You can also creatively combine patterns for a unique style.
- Weld Width Control: Weld width, influenced by voltage, wire speed, welding speed, and pattern, affects coverage, strength, heat, and distortion. Adjust these factors to achieve the ideal width for your application, balancing strength and heat management.
- Enhancing Weld Appearance: Good welds are smooth, uniform, shiny, and convex. Improve appearance by maintaining a clean weld area, using the correct gun angle, steady welding gestures, and appropriate speed. Post-weld, use tools like wire brushes, grinders, or polishers for additional smoothing.
- Strengthening Weld Strength: The weld's strength comes from fusion, penetration, reinforcement, and consistency between the weld and base metals. Strengthen your welds by optimizing voltage, wire speed, welding speed, pattern, wire and gas types. Post-weld, tools like hammers or peening tools can be used to relieve stress and harden the weld.

Conclusion
Summarize the main points of MIG welding, restate the purpose and content of the article, provide some useful resources and reference links, and encourage readers to learn and practice MIG welding patterns and techniques.
FAQ:
What are the best MIG welding techniques for beginners?
Some of the best MIG welding techniques for beginners are
- Keep a 1/4 to 3/8 in. stickout (electrode extending from the tip of the contact tube).
- Use a push or forehand technique (moving the gun away from the weld puddle) for better visibility and gas coverage.
- Maintain a 10 to 15 degree travel angle (the angle of the gun in relation to the direction of travel).
- Use a steady and consistent travel speed that matches the wire feed speed and voltage settings.
- Practice on scrap metal before welding on your project.
What is the best MIG welding pattern for vertical welding?
The best MIG welding pattern for vertical welding depends on whether you are welding uphill or downhill. For uphill welding, you can use an upside-down V technique or a series of triangles to trace the front edge of the puddle and keep the arc on the leading edge. For downhill welding, you can use a walk the cup technique or a Z weave technique to pause on the toes of the weld and zip across the middle.
What are the different types of MIG welding?
There are different types of MIG welding based on the type of wire, gas, and metal transfer used. Some of the common types are:
- Hard wire MIG: This uses a solid wire and a shielding gas (usually a mix of argon and CO2) to weld mild steel. It is fast, easy, and versatile, but it requires a clean joint and does not penetrate as well as other processes.
- Flux core MIG: This uses a tubular wire with a flux core that provides its own shielding and slag. It does not need a gas bottle, so it can be used outdoors and in windy conditions. It can also weld thicker and dirtier metals, but it produces more spatter, smoke, and fumes than hard wire MIG.
- Metal core MIG: This uses a tubular wire with a metal core that provides higher deposition rates and better penetration than hard wire MIG. It also produces less spatter and slag than flux core MIG, but it requires a shielding gas and a higher amperage.
- Pulse MIG: This uses a pulsing current that alternates between a high peak current and a low background current. This allows for better control of the heat input and the metal transfer, resulting in less spatter, distortion, and burn-through. It also enables welding in all positions and on thin metals, but it requires a special machine and a shielding gas.
What are some MIG welding tips and tricks to improve your skills?
Some MIG welding tips and tricks to improve your skills are:
- Clean your metal before welding to remove any rust, dirt, oil, or paint that can affect the quality of the weld.
- Use a preheating torch to warm up the metal before welding, especially if it is thick or cold. This will reduce the risk of cracking and improve the penetration of the weld.
- Use a wire brush or a chipping hammer to remove any slag or spatter from the weld after it cools down. This will make the weld look cleaner and reveal any defects or porosity.
- Use a welding gauge to measure the size, shape, and angle of the weld bead. This will help you check if you are meeting the specifications and standards for your project.
- Experiment with different settings, techniques, and patterns to find what works best for you and your weld. Practice makes perfect, so keep welding and learning from your mistakes.
How to MIG weld vertical up?
To MIG weld vertical up, you need to follow these stepshttps://www.weldingtipsandtricks.com/mig-welding-vertical.html:
- Set your machine to a lower voltage and wire feed speed than for flat or horizontal welding. This will prevent the weld puddle from sagging or dripping down.
- Hold the gun at a slight upward angle (5 to 15 degrees) and push the weld pool uphill. This will give you better visibility and gas coverage.
- Use an upside-down V technique or a series of triangles to trace the front edge of the puddle and keep the arc on the leading edge. This will control the heat and the size of the puddle.
- Stack beads on top of each other by pausing briefly on the edges and moving across the middle quickly. This will fill the joint and create a uniform weld profile.
- Alternatively, use a Z weave technique to pause on the toes of the weld and zip across the middle. This will also fill the joint and create a uniform weld profile, but it may produce more spatter and slag.
What does a good MIG weld look like?
A good MIG weld should have the following characteristics:
- It is smooth and even, with minimal spatter or slag.
- It has proper penetration into the base metal and uses the correct filler material.
- It is strong and durable, with a consistent bead size and no visible gaps or defects.
How to weld with a MIG welder?
To weld with a MIG welder, you need to follow these steps:
- Choose the right wire and gas for your project. For example, use hard wire and a mix of argon and CO2 for mild steel, or use flux core wire and no gas for outdoor welding.
- Set up your machine, wire spool, gas bottle, and regulator. Make sure the wire is fed smoothly through the drive rollers and the liner, and the gas flow is set to about 20 cubic feet per hour.
- Adjust your wire feed and voltage settings according to the material thickness and type. You can use the chart on your machine or the Advanced Auto-Set™ technology to find the suggested settings.
- Wear the proper safety gear and prepare your material and work area. Wear a welding jacket, gloves, and helmet, and avoid contact with hot metal and UV rays. Clean your metal and clamp it securely to a work table or a ground clamp.
- Hold the gun and move it across the workpiece. Hold the gun at a comfortable and steady position, and keep a 10 to 15 degree angle. Use a push or forehand technique for better visibility and gas coverage. Use a steady and consistent travel speed that matches the wire feed speed and voltage settings.
- Choose a torch movement pattern and focus on the weld puddle. You can use a straight line, a whip and pause, a circle, or a weave pattern to create different weld profiles. Focus on the weld puddle and listen to the sound of the arc to check if you are welding correctly.
I hope this article outline can help you write a great blog post about MIG welding. If you have any questions or feedback, please let me know.
Leave a comment
This site is protected by reCAPTCHA and the Google Privacy Policy and Terms of Service apply.